For a few years now, I have been working with 18650 battery cells that I got a ton of from an bike shop that had deemed them defective. I took the ebike batteries apart and tested each cell individually. Usually I would only find 1-2 cells per pack that was actually the culprit of the pack testing bad at the bike shop. This is out of a 40 cell pack.
Anyway, loose 18650 cells aren’t much fun having laying around, but they can be hard to work with. One cell isn’t enough to power larger stuff such as a DIY E-bike. So you need some cells in series and some in parallel. To do that you need to connect the battery terminals in some sort of permanent way. Previously I have done that by soldering them (I did that for my first E-bike battery pack). However soldering them takes a long time and whats worse is that you need to heat up the batteries quite a lot to get the solder to flow onto the terminal. Heating up the batteries with a 370 degree celcius soldering iron is not very pleasant for the battery. So it might end up failing or even overheat and catch on fire. Luckily I did not experience this when doing the first pack. If you are to try and solder cells together, use the tip with the most amount of surface area. Do not use the horrible conical tips, it will take to long to heat the battery terminal.
The idea for WeldMeister came when I saw the KWeld spotwelder. This was a PCB spot welder as well but with big copper busbars running on the currents path between the two welding tips. The unit is relatively big and I thought it might be better with something where the entire unit was handheld. The other nice thing about the KWeld is that it can be operated by a LiPo battery with a high enough C-rating. Last but not least, the creator made it not only timer based, but also energy based. So one can choose how many joules that should be delivered into the weld spot. According to the creator, this should yield more consistent welds. I liked that idea and so I wanted to see if I could recreate something like it in a smaller package.
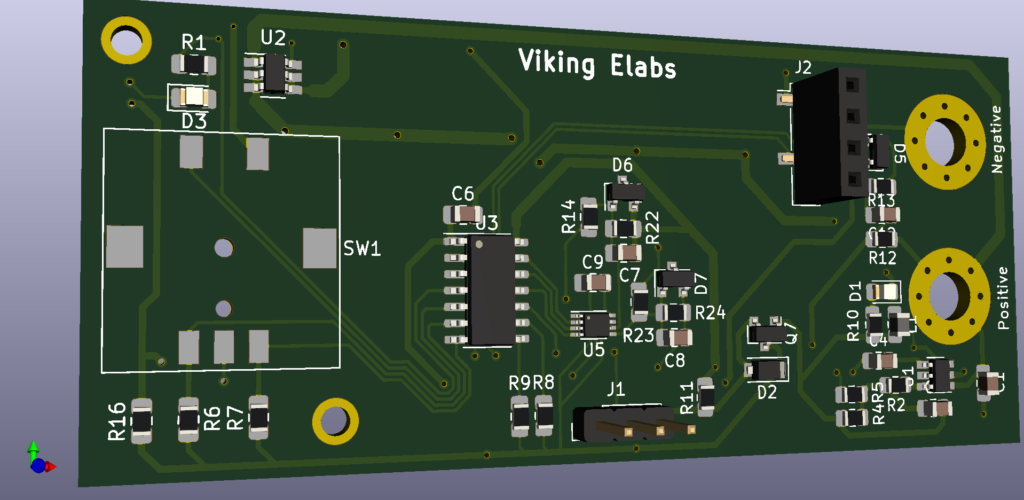
The first prototype in a 3D model is shown below.
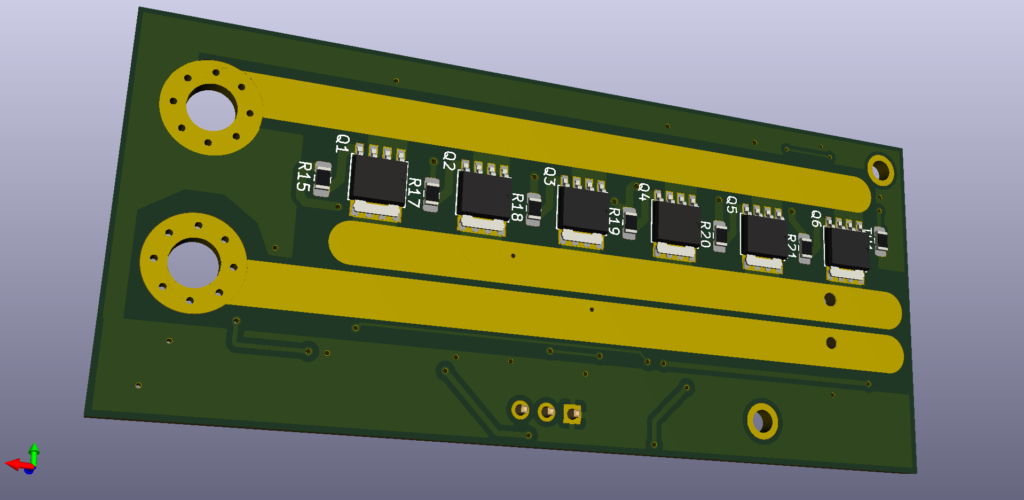
The big empty footprint on the top side is supposed to show a rotary encoder, but I lost the 3D model for it before making this post.
Progress is currently that I have the bare boards at hand, but the global chip pandemic has made my high power transistors become a scarcity. So either I have to redesign the boards with new transistors or wait until they are back in stock. Which, by the looks of it, is late 2022.