So we got a son, and he needs to get his diaper changed. A lot!
Of course this is done 99% of the time at a changing table. So we started thinking about what kind of table would fit into our apartment.
Quickly it became apparent that we could utilize the bathub. It’s really nice to have a big bathroom with a bathtub in an apartment, but we have used it exactly once since we moved in.
Then I found people building changing tables on top of their unused bathtubs, and we knew that we wanted in. It is honestly the perfect setup, the bathtub itself has a long flexible hose that can be used for quick access to water. And the sink is right next to it as well.
I am not a skilled woodworker what so ever. No way that I could build those things that we were seeing (albeit very few of) online myself.
What do you do then?
You go to IKEA of course! The SNIGLAR was the perfect form, fit, function for us. It is nice and large. And should we want to take a bath at some point again, it is also super light.
Only one problem though. It is meant to stand on the ground. And with the height of our bathtub, it became apparent that the from-factory configuration would not work for us. My partner is 1,50 meter tall and I am 1,87 meter. This alone provides some interresting hurdles in a problem like this.
Nevertheless, we went to IKEA and bought the damn thing.
Sawing for dummies.
When we came home, I found my trusty old detail saw from the basement and started chopping off the lower legs. In this way, the bottom of the lower shelf of the SNIGLAR would rest directly on the bathtub.
Since the height of the upper shelf, where the baby lies, was still too tall for my partner to reach properly, I took the top shelf off. Then I started chopping off centimeters of the legs there as well.
That was at least until I realized, in the middle of the second leg, that I now no longer has any way of mounting the top shelf back onto the legs.
See the top part of the legs have this cutout in the middle and 3 holes for two dowels and a large screw. I was, of couse, missing these mounting options now.
Let’s Design It!
So I went into Fusion 360 to see if I could solve my selfcreated issue.
Measuring out the size of the original wooden cutout and the positions of the mounting holes where pretty easy. Within a few moments, I had a model ready to be printed that would act as an adapter of some sort.
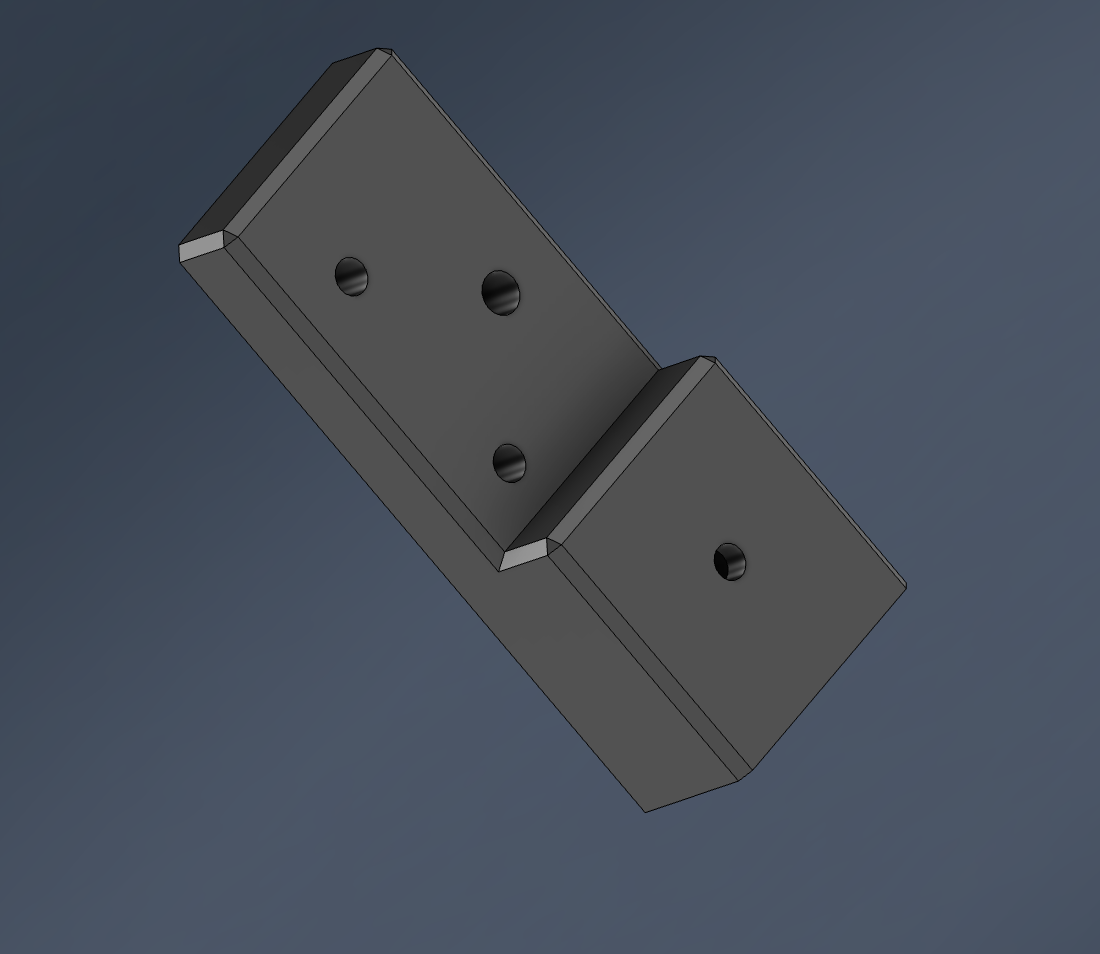
3D model in Fusion 360
Since the weight of the upper shelf would still rest on the wooden leg, I had no doubts that I could easily print the adapter out of PLA. But I ended up with PETG since I liked the color I had on stock better for the table.
The Final Result
In the end, it came out pretty well and we are super happy with the result.
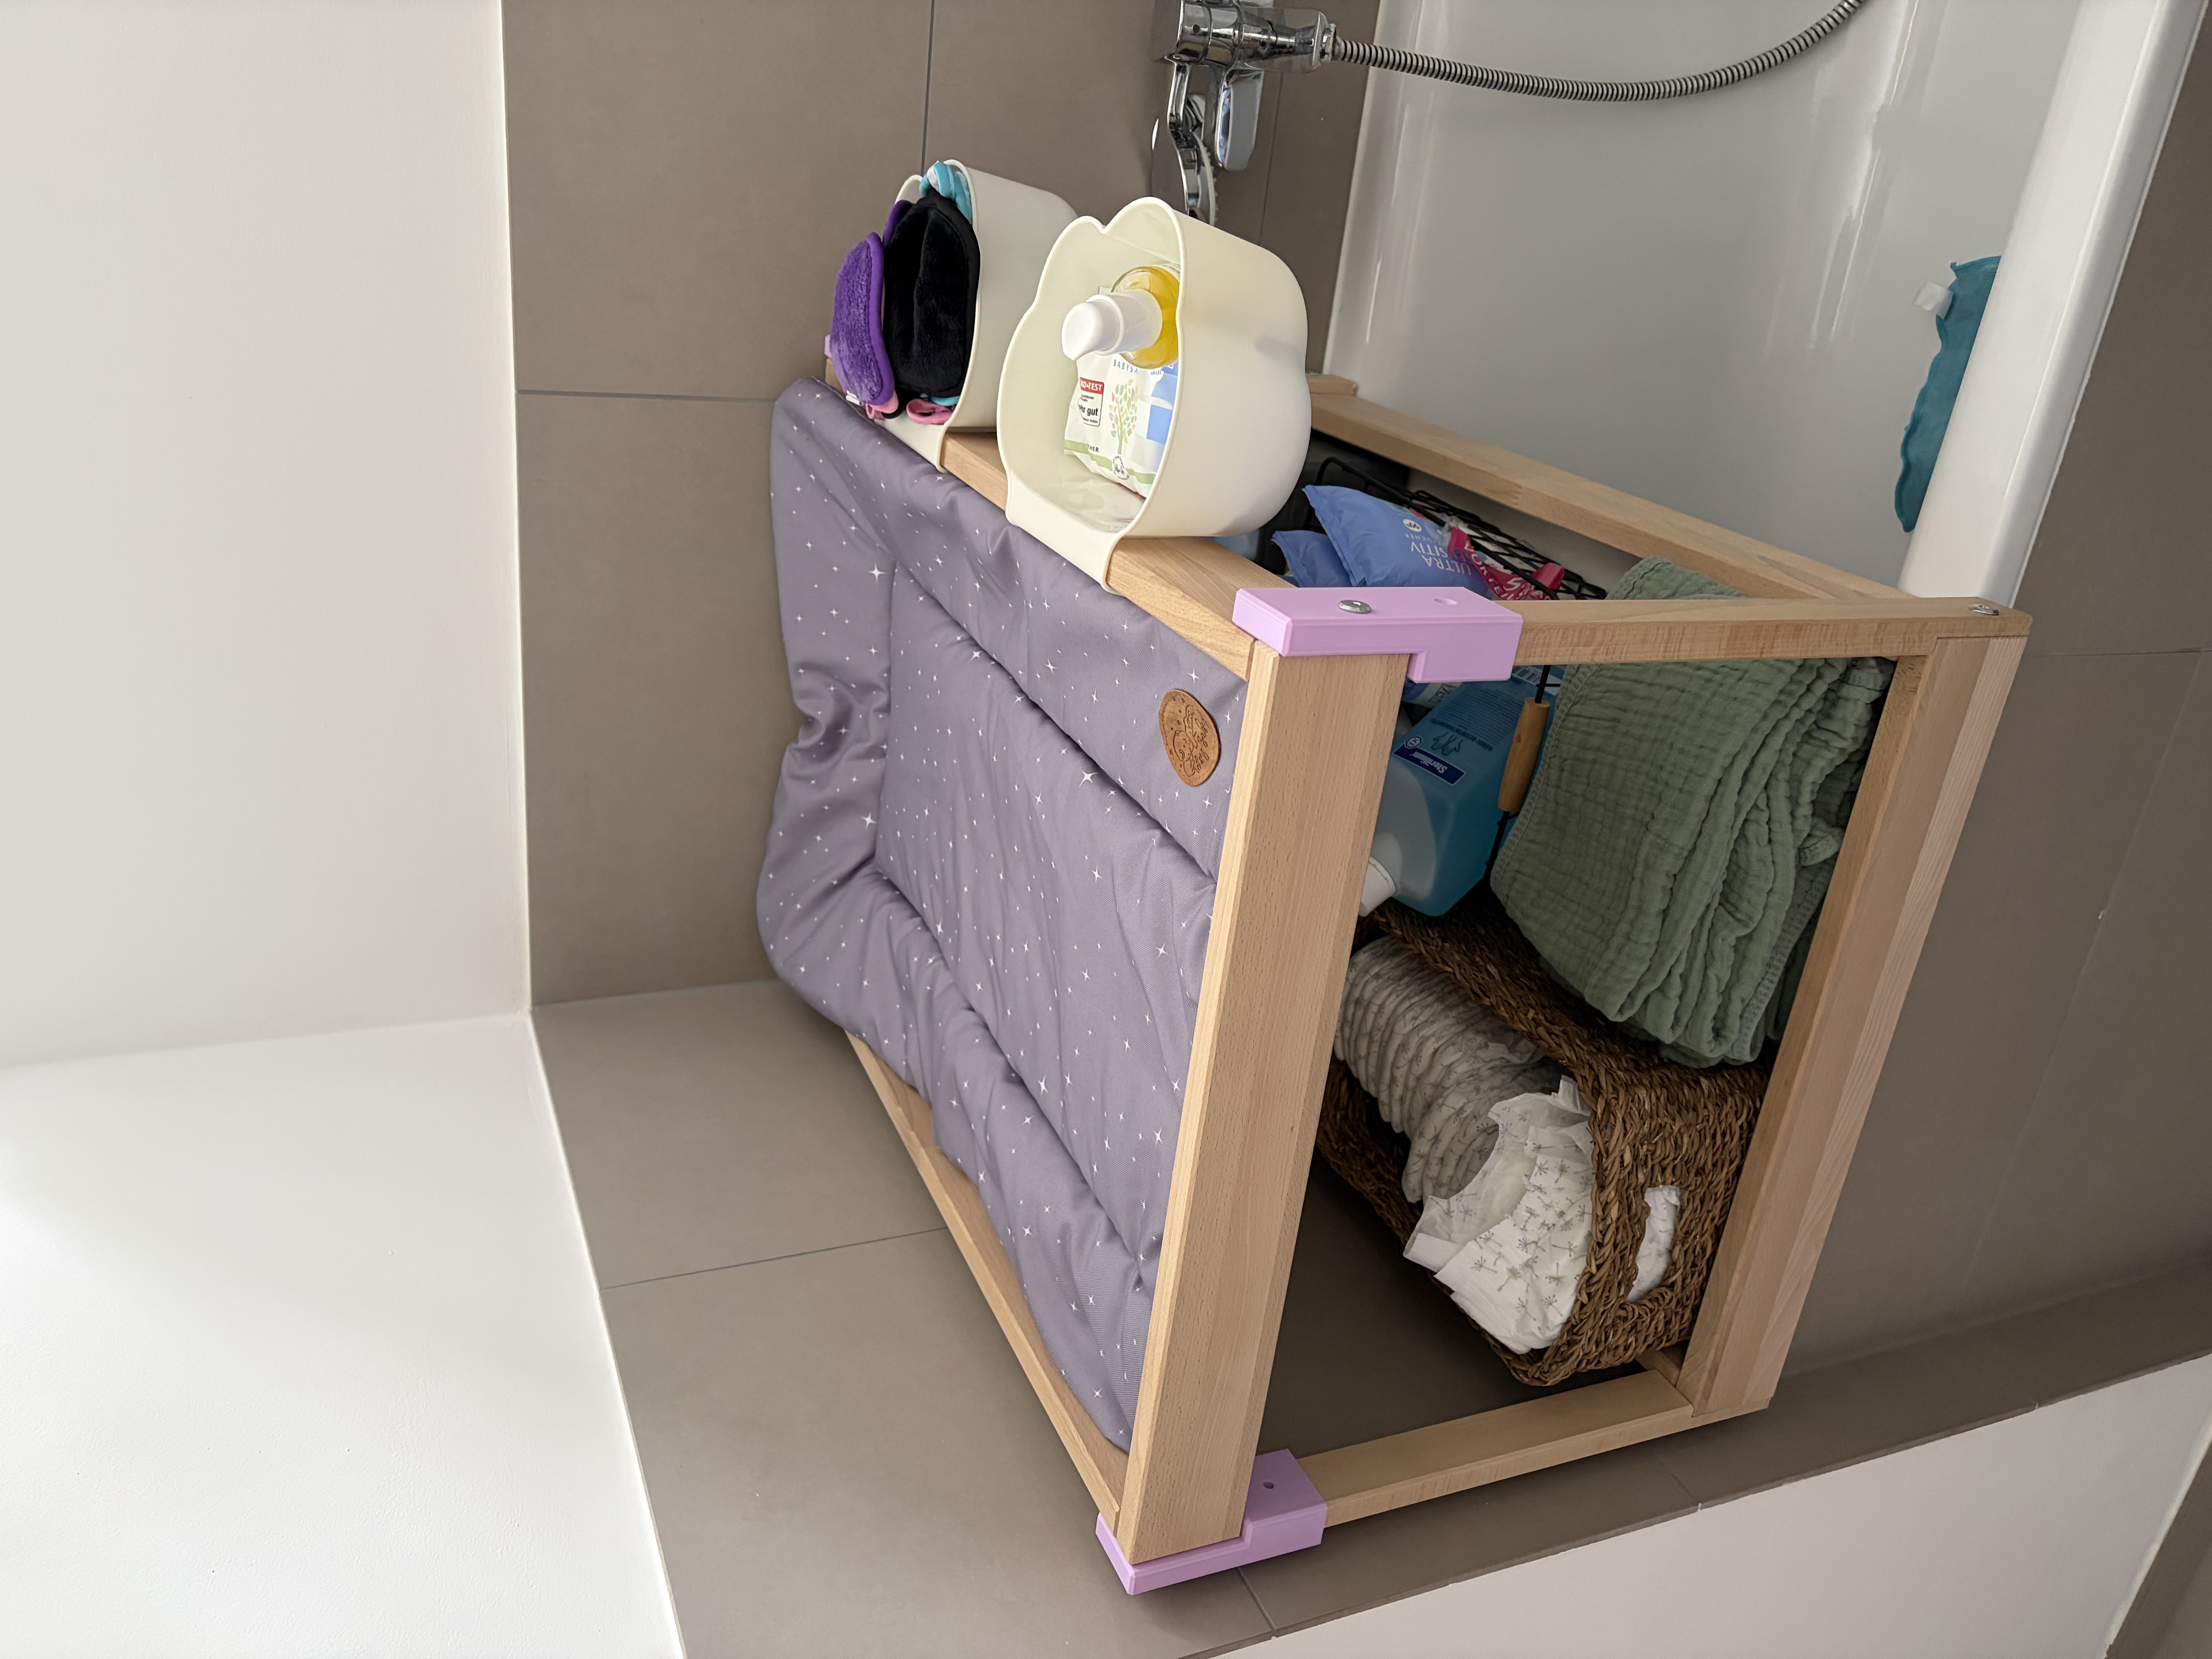
Chnaging Table 1
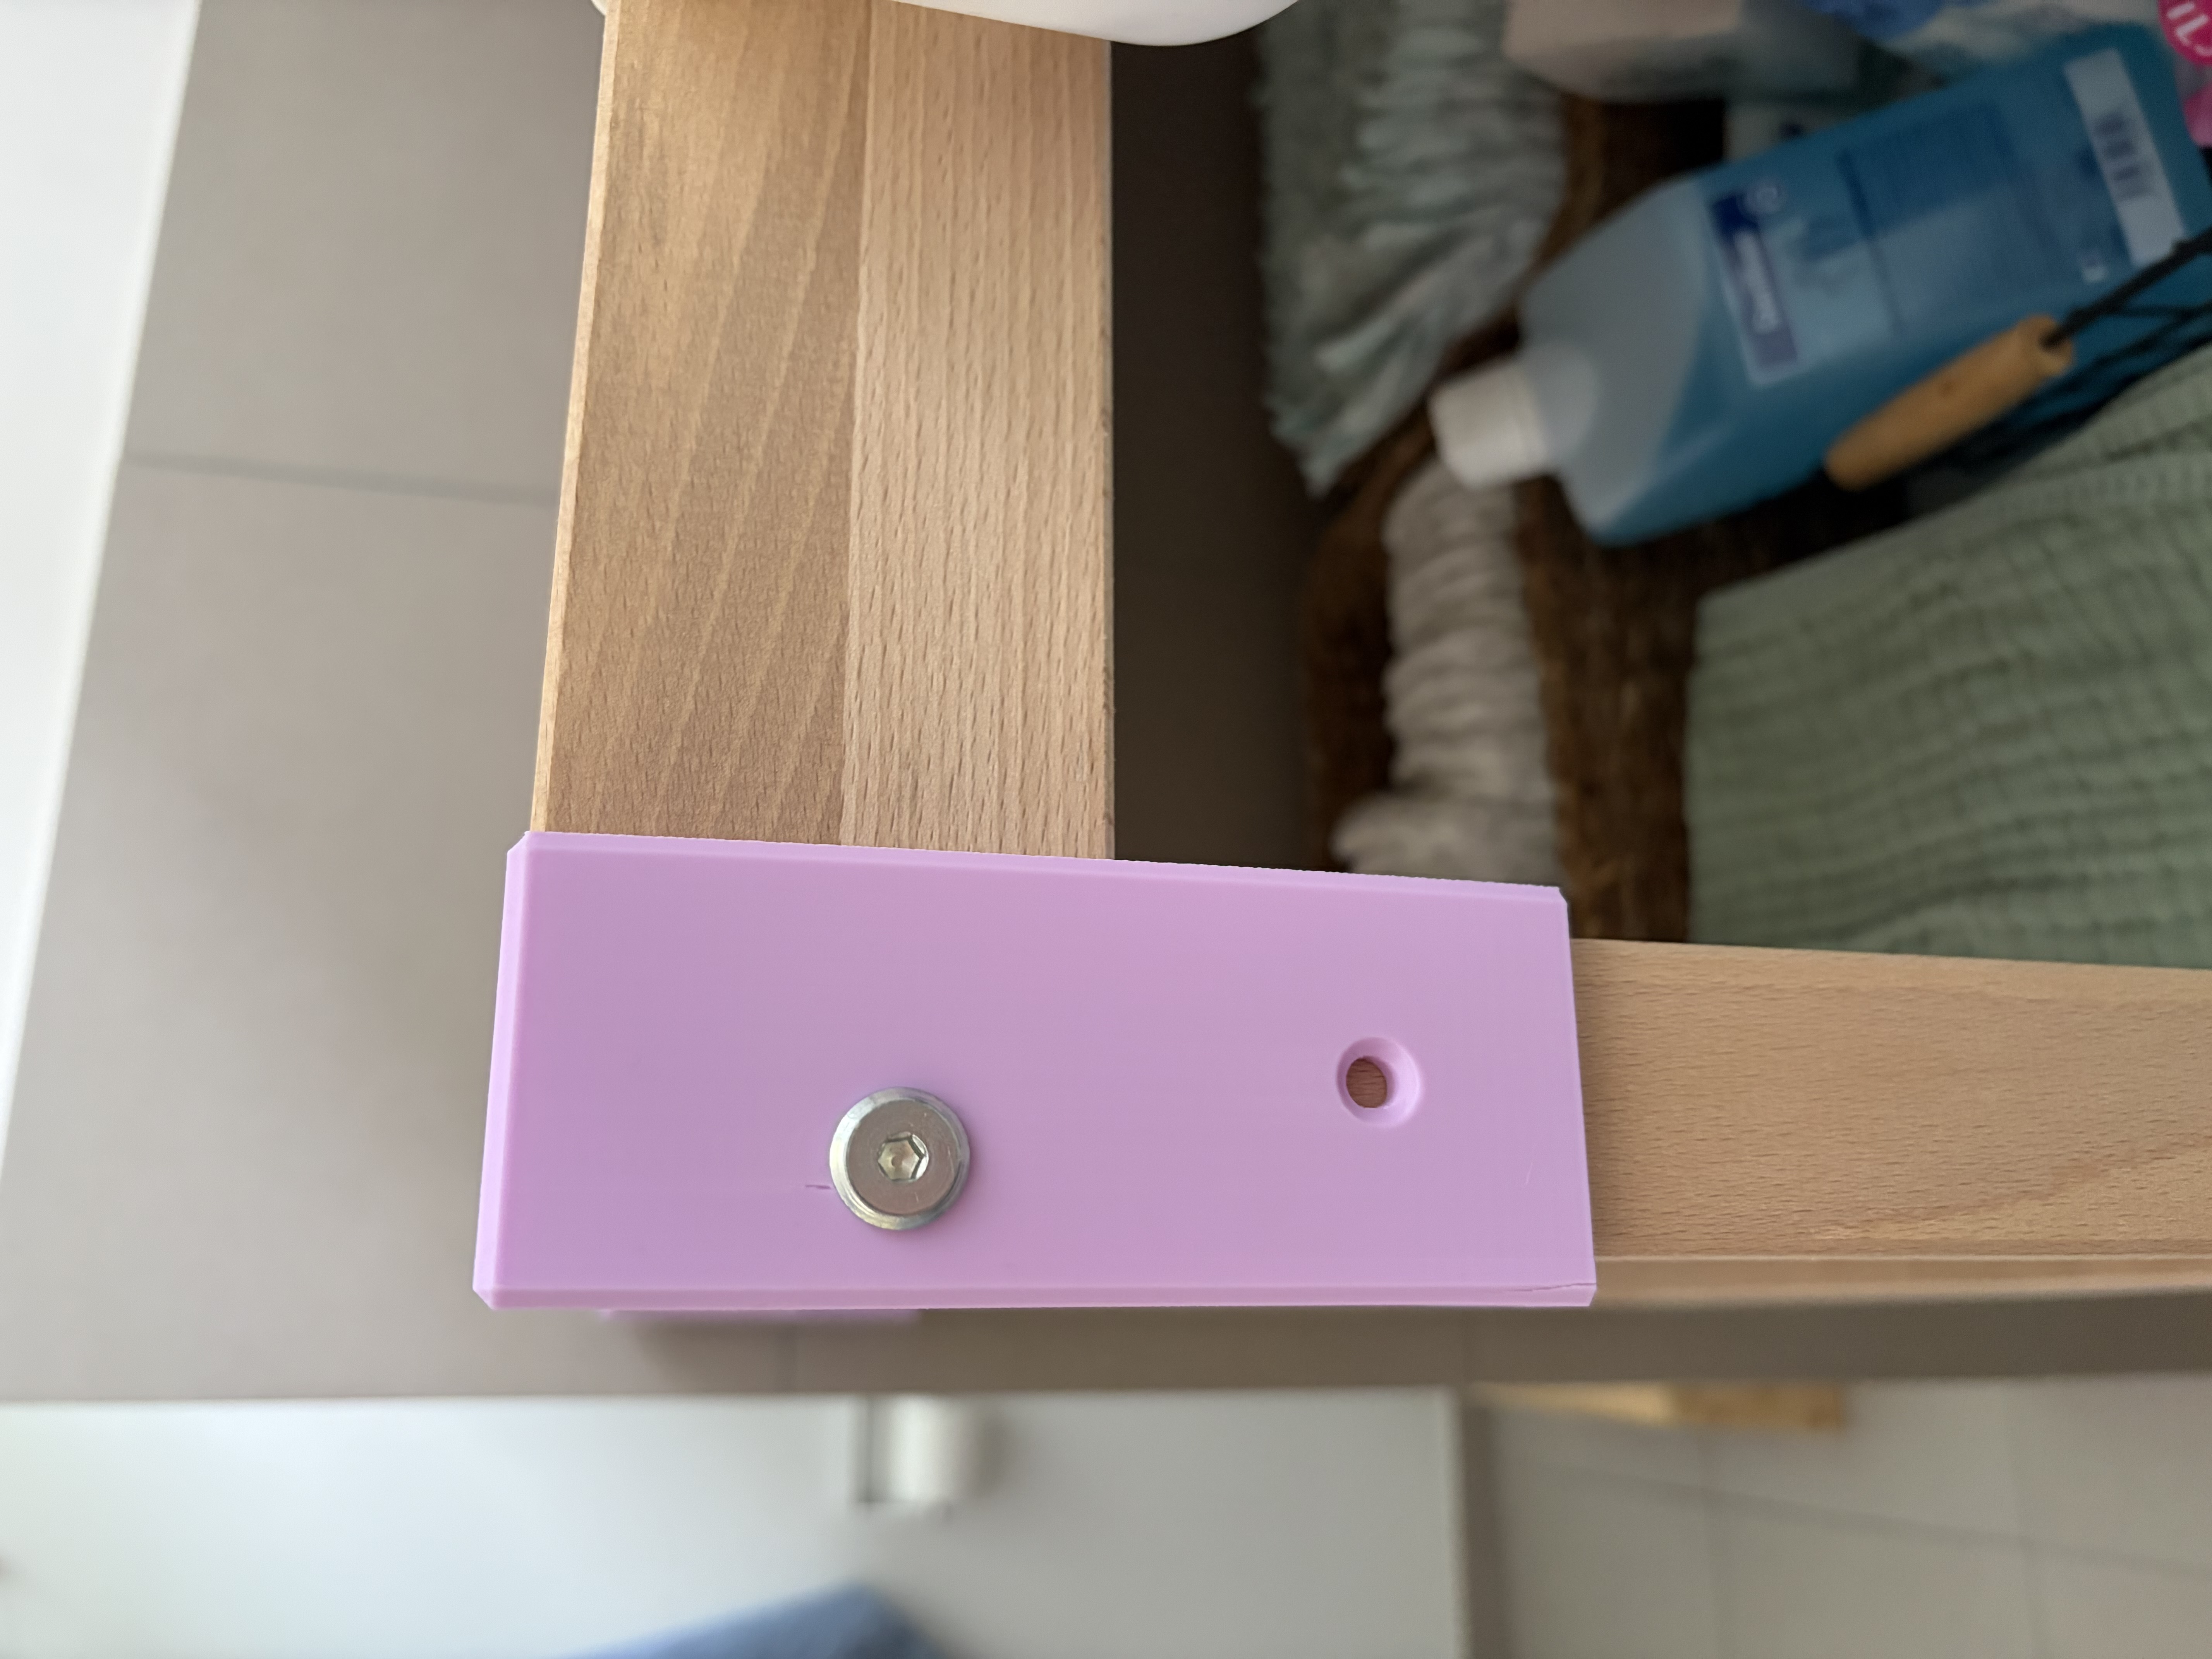
Chnaging Table 2
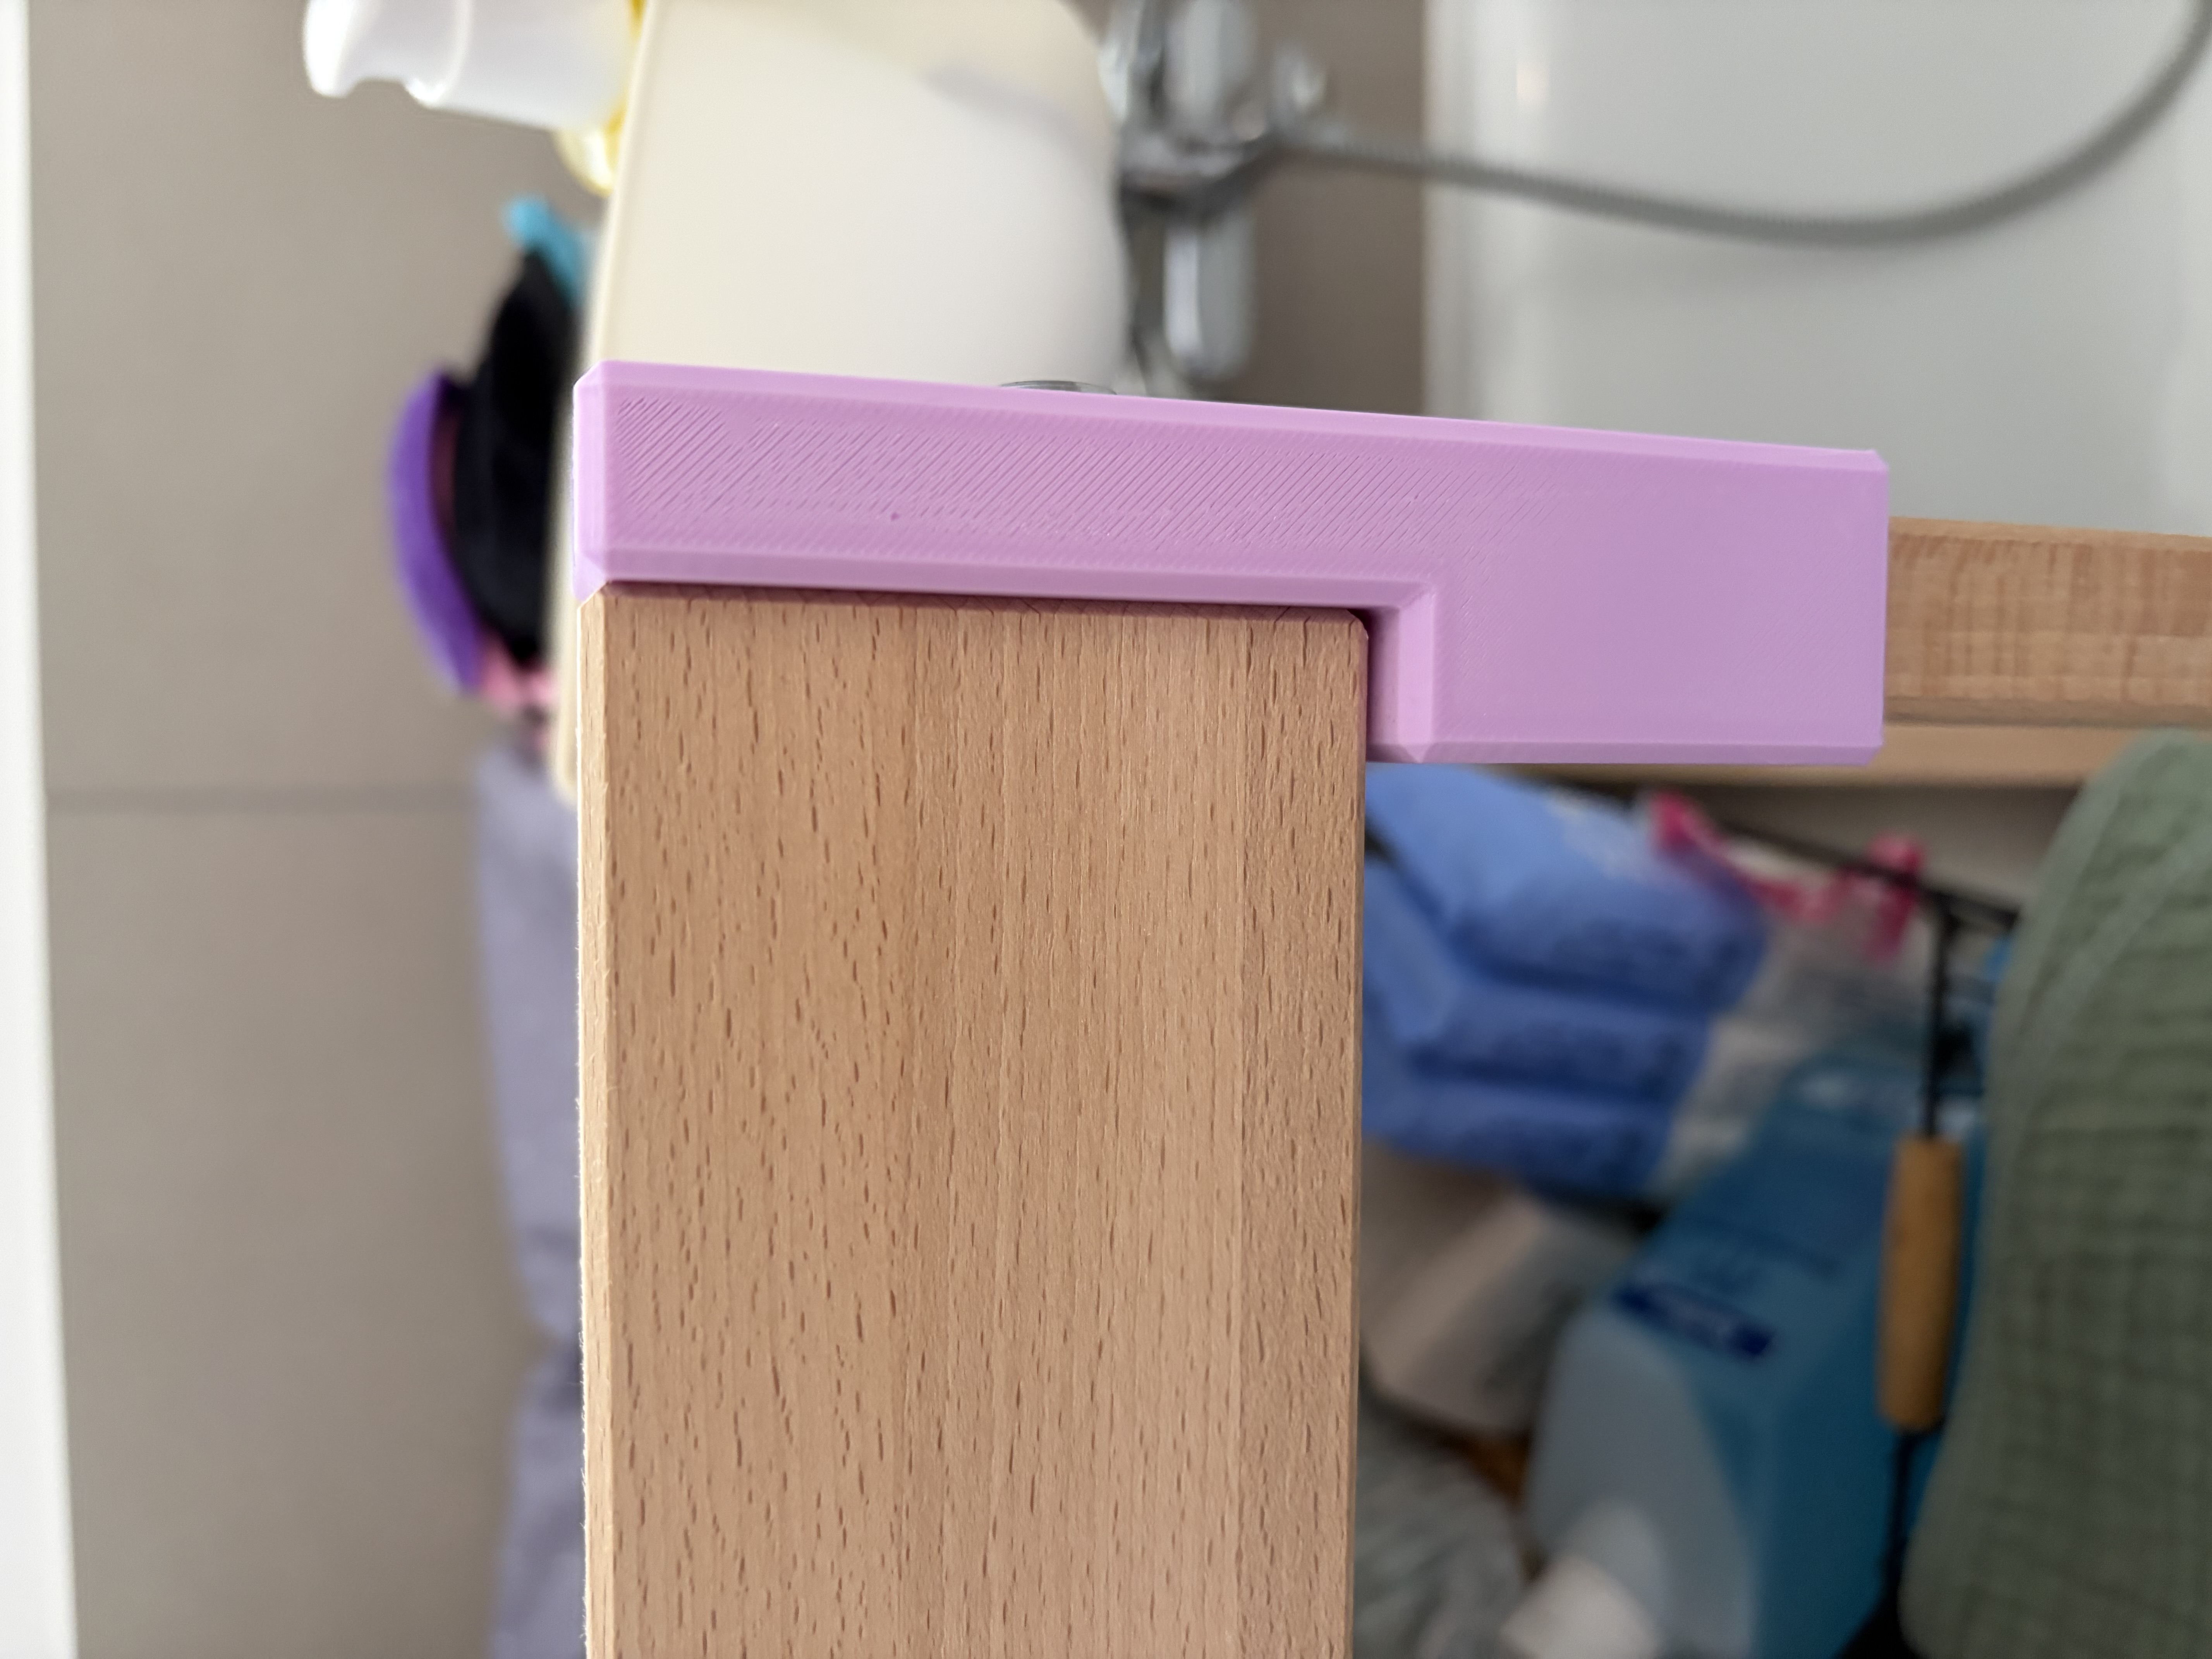
Chnaging Table 3
Feel free to grab the model from printables of you are thinking of trying out such a setup yourself.